Oct 4, 2013

Craft Lab: Gelatin Printmaking

http://librarymakers.blogspot.com/2013/10/craft-lab-gelatin-printmaking.html
A surprisingly effective print medium:  gelatin!

Today's project:  Printing with a slab of gelatin
Supplies:
gelatin slab (see instructions to make one here)
ink brayers
ink
paper
flat objects with interesting texture or shape


Prep work:
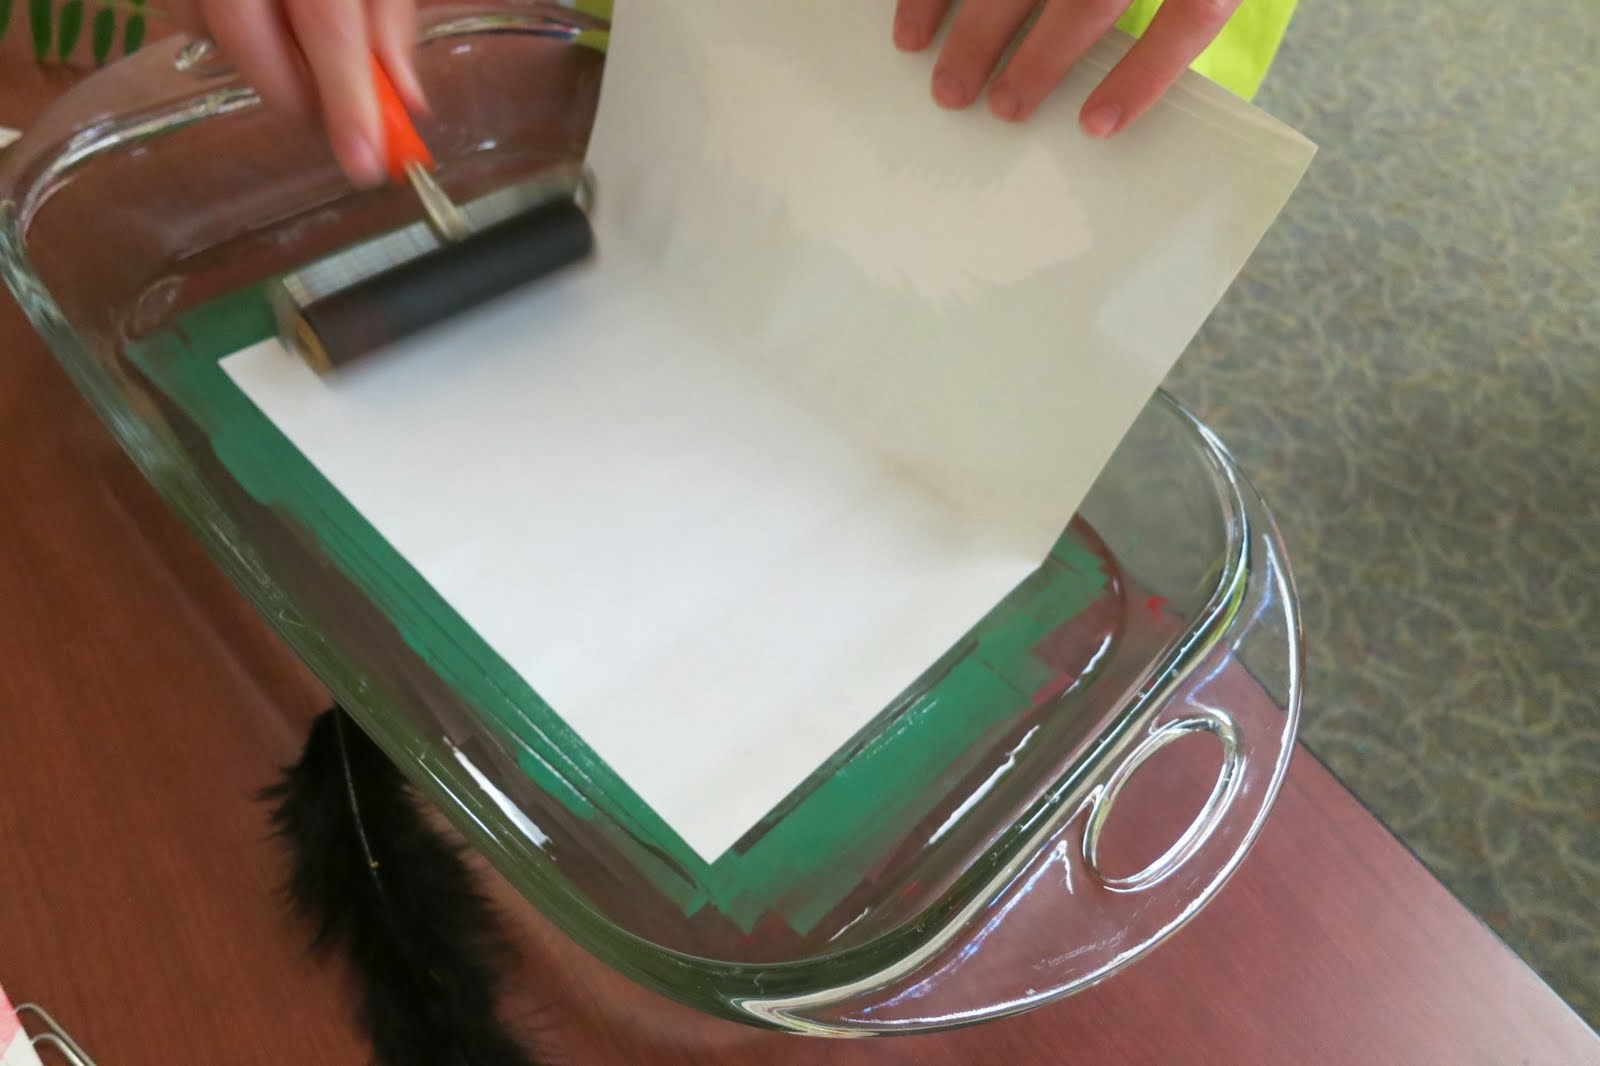
Before your class (preferably the day before), combine 3-4 cups of boiling water with 12-15 pouches of gelatin (not Jell-O, the plain kind.  Knox is one brand.).  Whisk until completely smooth, then pour into a pan to cool and harden.  It's best made on a cookie sheet or jelly roll pan. Make sure there's no bubbles.  I was short on gelatin and had no time to get to the grocery store that night, so I made a half-batch and poured it into a 9x13" glass baking dish.  The high sides proved a bit limiting, but other than that, it worked fine.

What we did:
Smooth ink over the surface of your gelatin with the brayer until it's covered and very smooth.  Then, place the objects you want to print on top of the ink
and lay a piece of paper over them.

 
Run (a clean) brayer over the back of the paper, then pick it up.  You'll have a silhouette of your object.  Next, peel up the objects you had on the printing surface

 and once again, lay a (clean) piece of paper on the printing surface, roll over it with the brayer, then lift your paper.
 

 This second printing will result in an almost photograph-negative type of effect.  Amazing!

 We also had good luck with other types of images:


At the end of the crafting session, I peeled the gelatin out of the pan and it came out cleanly with no breaking, so you could try taking it out of the pan before printing if you're careful.  The artists really loved playing with the giant block of gelatin--it's a great sensory experience!

No comments:

Post a Comment

Template developed by Confluent Forms LLC; more resources at BlogXpertise